My photo equipment: camera packing list for traveling and hiking
As a professional photographer, I have high expectations of my photographic equipment. On the one hand, I want top-quality photos - and that requires outstanding photographic equipment with high-quality lenses and a state-of-the-art camera.
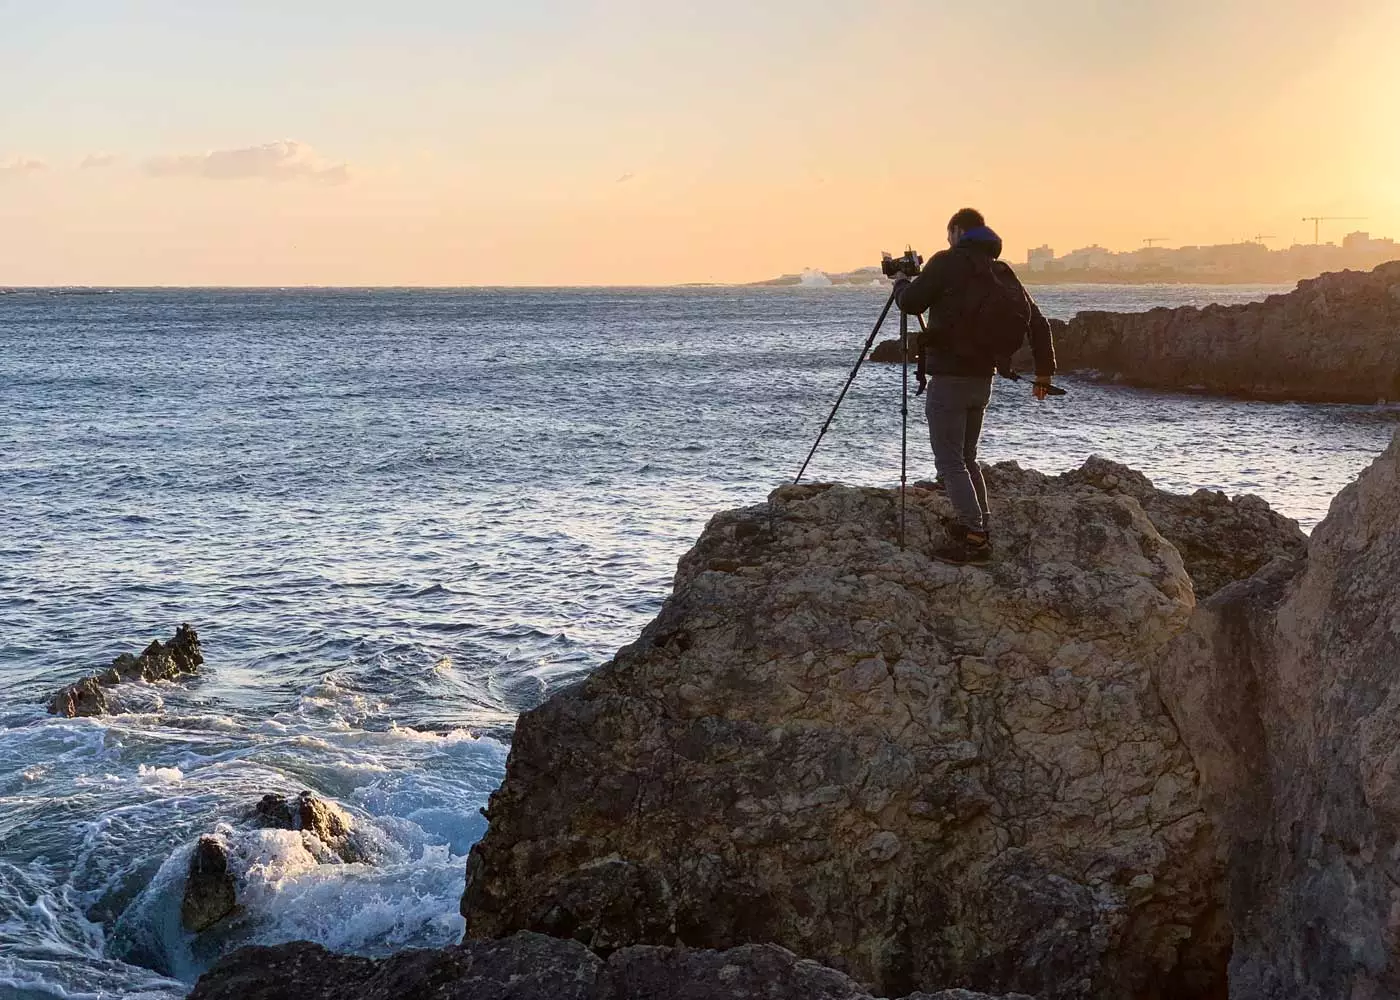
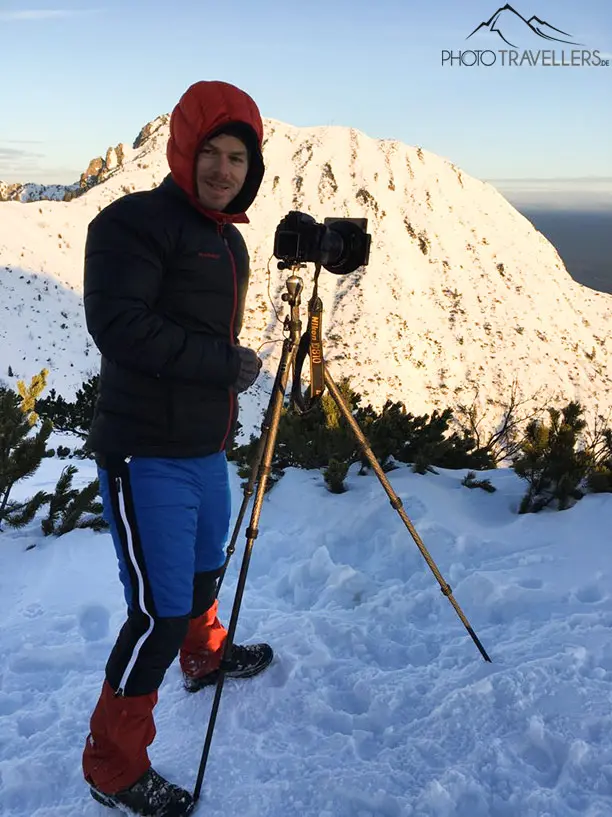
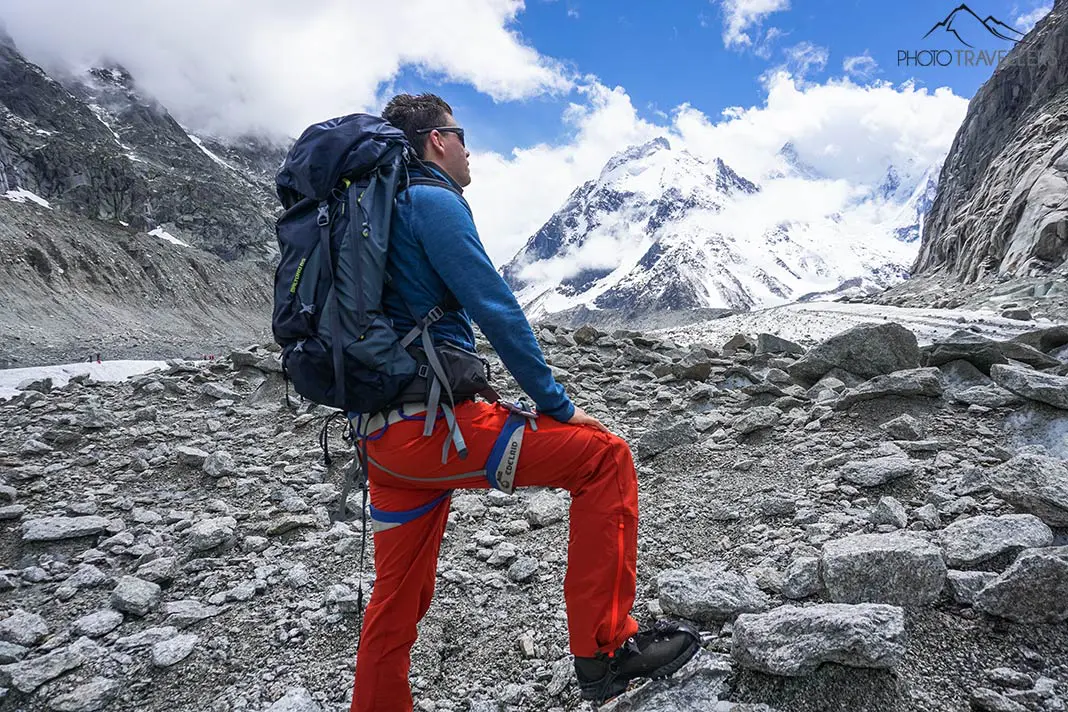
On the other hand, we travel a lot. Not only in faraway countries, but also on high mountains and in inhospitable areas - sometimes for many days. Nothing is much harder than a heavy (camera) backpack. Over the course of many years I have perfected my photographic gear - in terms of quality, weight and solidness.
Photo equipment is only perfect when it fits you and your needs. If you only take pictures in the photo studio, the weight is not important. If you travel a lot or are in the mountains, weight and pack size are two main criteria.
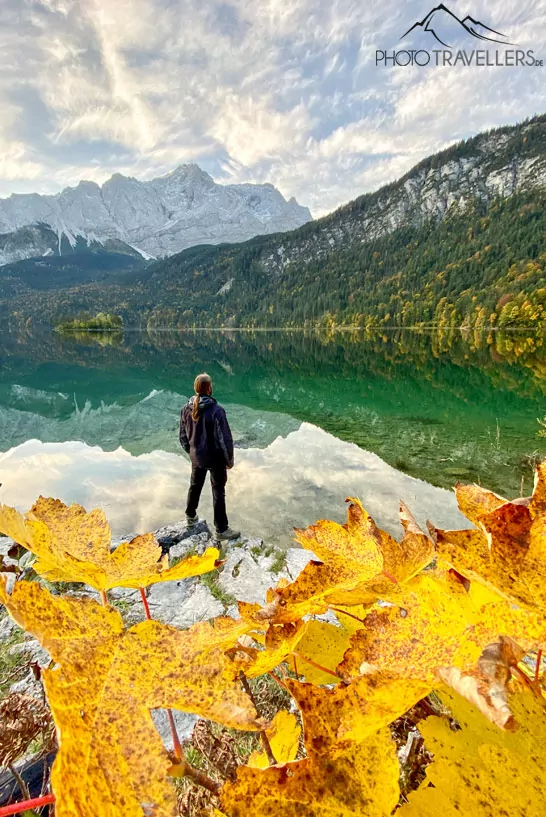
Here you will find the perfect photo equipment for long hikes or for trips to faraway countries.
Hi! Wir sind Biggi & Flo
Wir nehmen dich als Reisejournalisten mit zu den schönsten Orten der Welt!
Werbehinweis: Alle mit einem * markierten Links sind Werbelinks.
My photo equipment at a glance
- Sony Alpha 7 IV
- Sony Alpha 7 III
- Sony SEL1635Z
- Samyang AF 14mm F2.8 FE
- Sony SEL24105G FE F4 G
- Sigma 100-400mm f5-6,3 DG DN OS (C) Sony-E
- Sony SEL50F18F
My cameras for traveling and hiking
Sony Alpha 7 III & Sony Alpha 7 IV
For top quality photos, such as for photo exhibitions, nothing can beat a camera with a full-frame sensor in my opinion (I’ll leave out the even larger medium format for a moment).
Unfortunately, full-frame cameras are heavy and unwieldy. This is especially true for single-lens reflex cameras (DSLRs), but also for the somewhat more compact system cameras (DSLMs). However, image quality, lens selection and features of a full-frame camera are more important to me personally than a few grams of weight.
DSLRs still have some advantages, especially on long trips with poor power supply or in rough terrain. But DSLMs are getting more and more powerful – in the meantime, the advantages of the system camera (DSLM) outweigh the disadvantages for me.
DSLRs still have some advantages (compare DSLR vs. DSLM), especially on long trips with poor power supply or in rough terrain. But DSLMs are getting more and more powerful – in the meantime, the advantages of the system camera (DSLM) outweigh the disadvantages for me.
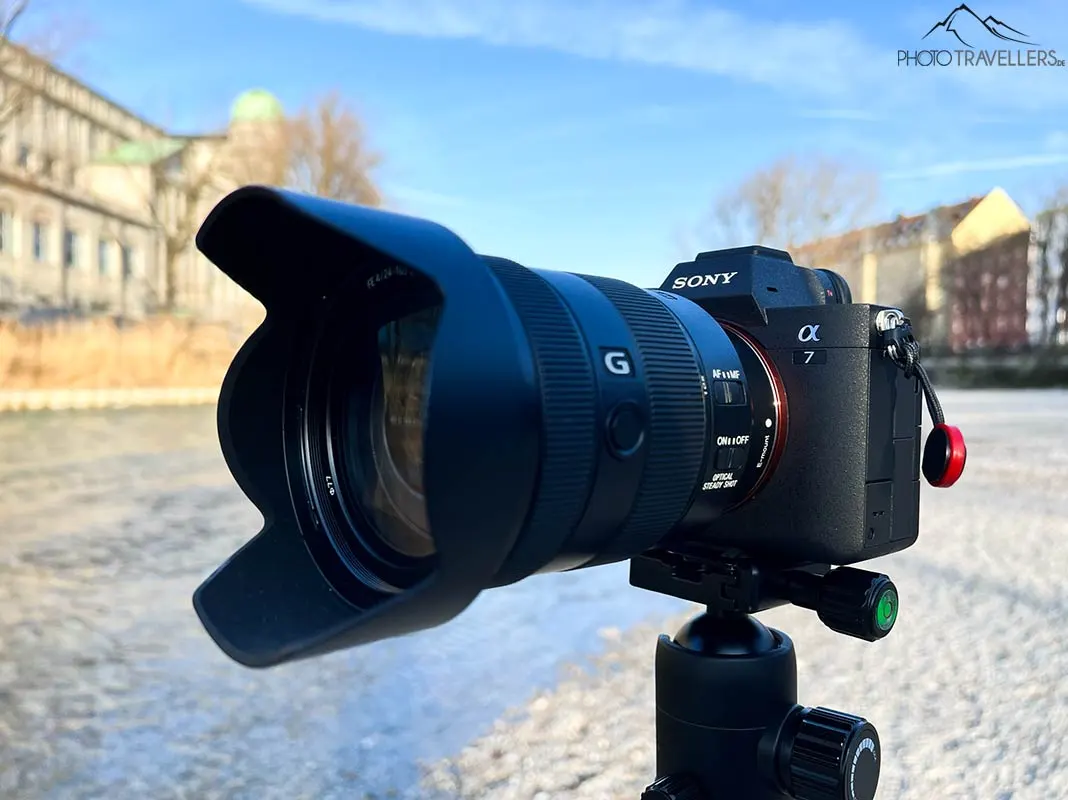
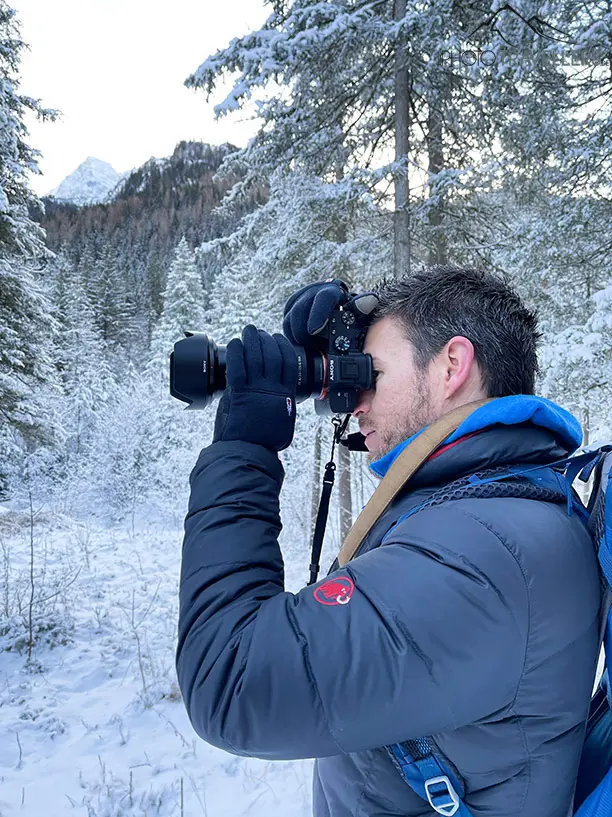
For many years, the Canon EOS 5D Mark II, the Canon EOS 5D Mark III and the Nikon D810 – all large and heavy DSLRs – were faithful companions. In the meantime, the Sony Alpha 7 IV is the basis of my photographic equipment and my main camera on trips and also on many hikes. As a second camera, always equipped with a wide-angle lens, the “old” Sony Alpha 7 III comes along in the camera backpack.
The relatively light and compact Sony Alpha 7 IV full-frame system camera delivers photos in the best image quality, has a high dynamic range and good noise behavior. In addition, the DSLM has an extremely fast and precise autofocus, has two card slots and is protected against splash water. The lens selection also leaves nothing to be desired.
Accessories for the Sony Alpha 7 IV
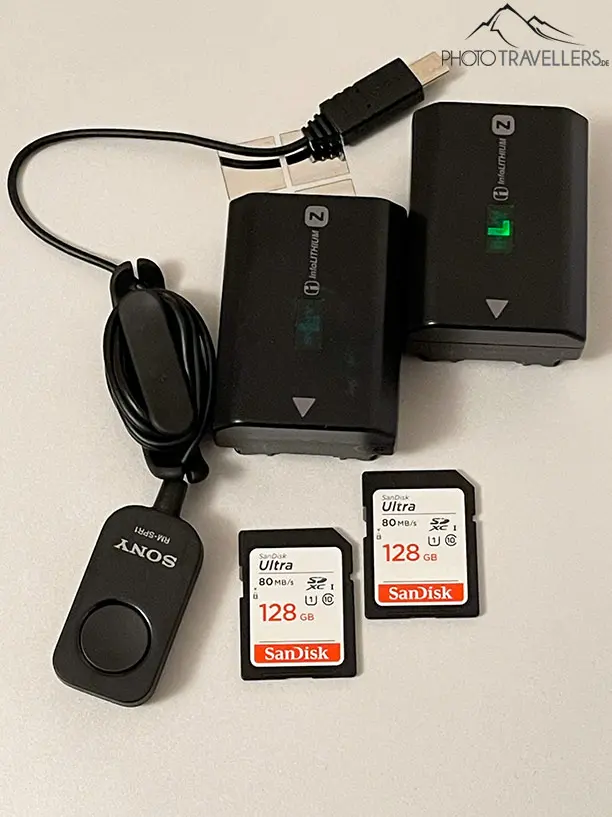
At least one spare battery belongs in the photo backpack as well as a remote shutter release.
After several attempts with cheaper suppliers, I finally ended up with the expensive original parts from Sony, with which I am very satisfied.
In addition, you should always have two powerful memory cards in the camera (the Sony Alpha 7 IV has two card slots, which I use at the same time to back up my photos and videos while shooting). If you’re not doing “continuous fire” shoots, relatively inexpensive memory cards will do.
For 4K videos and action photography, you should go for extremely fast cards.
The ultra wide angle lenses
Without good lenses, the best camera is useless. An ultra-wide angle lens is essential for every landscape photographer.
When it comes to ultra-wide-angles, I go for the Sony SEL1635Z (check price*). The ultra-wide-angle zoom lens has a focal length of 16 to 35 millimeters. With it, you’ll be able to take exceptional photos. With a maximum aperture of F4 at all focal lengths, the lens is not particularly light-intense.
On the other hand, the lens is light and compact with a weight of 518 grams – ideal for long hikes or trips. In addition, the lens is protected against dust and splash water – an important feature when photographing in nature.
In addition, the Samyang AF 14mm F2.8 FE for Sony E-mount connection (check price*) is in my camera backpack. With 14 millimeters focal length, photos succeed with an even more extreme angle of view. In addition, the (extremely sharp) fixed focal length has an open aperture of F2.8 – which is ideal for night shots.
At around $500, the ultra wide angle lens is also quite affordable. Unfortunately, filters can only be used on the Samyang with a (prohibitively expensive) special filter holder. In addition, you would have to use the expensive 150 millimeter filters.
The standard lens
As an “always on” lens, the Sony SEL24105G (check price*) with a focal length of 24 to 105 millimeters must not be missing in my photo equipment. With this focal length, the lens is the perfect companion for outdoor adventures and sweaty hikes.
While the lens is significantly heavier than the compact (and inexpensive) SEL2870 kit lens, it is also more versatile. In addition, the SEL24105G is far superior to the kit lens in terms of image quality.
The telephoto lens
In the life of a travel and landscape photographer, there are always situations in which you need to reach for a powerful telephoto lens. Again, the top priority for me is weight. I cannot go on a long mountain tour with a telephoto lens that weighs around ten pounds.
In that range, I go for the relatively lightweight Sigma 100-400mm f5-6.3 DG DN OS (C) Sony-E (check price*) for this focal length. The focal length is 100 to 400 millimeters.
With the maximum focal length, you also succeed in taking very nice animal photos – that’s important on trips and hikes, after all. In addition, there are always motifs in landscape photography that require a telephoto focal length.
The Sigma is also convincing in terms of price. A comparable Sony lens costs more than twice as much. Unfortunately, you have to buy the lens cap separately.
The portrait lens

A lightweight and compact portrait lens is, of course, also part of my photo equipment and a must in the photo backpack when traveling. Here I rely on the Sony SEL50F18F (check price*).
The lens is my personal first choice, because it makes the photo equipment with just 186 grams only imperceptibly heavier and hardly burdens the travel budget.
The image quality is okay, but not remotely comparable to a professional portrait lens that costs many times more. Since my focus is on landscape images, this is okay for me, though.
If you are looking for a fast portrait lens, you should have a look at the very expensive Sony SEL50F14Z or the cheaper but also very good Sigma 50mm F1.4 DG HSM.
My second camera
The Sony Alpha 7 III

When I travel, I always have a second camera with me: In the past, it was the Canon EOS M50 as a compact alternative.
Today, I use the Sony Alpha 7 III (check price*) as a second camera. This also has the advantage that I can use the lenses on both cameras.
The perfect hiking camera for the mountains
If a full-frame camera is too big and heavy for you when hiking, it’s best to go for a compact camera with an MFT sensor. The MFT sensor has some disadvantages in terms of image quality (especially dynamic range), but MFT cameras are unbeatable light and compact.
The Olympus OM-D E-M1 Mark III (check price*) or – a bit cheaper – the Olympus OM-D E-M5 Mark III (check price*) are highly recommended.
Cleaning products for lenses and filters
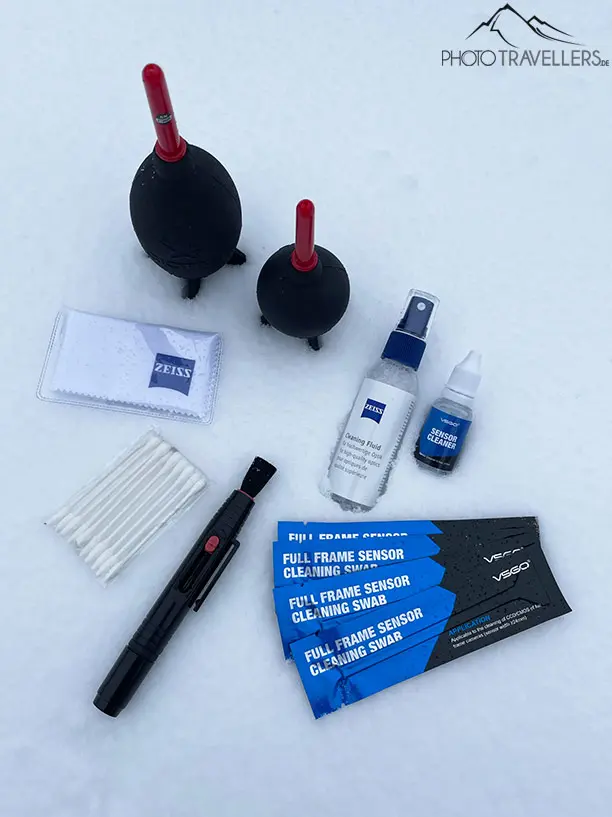
Clean lenses and filters are essential for stunning photos. I have tried many different cleaning products. Filters are best cleaned under warm water with a little dish soap and a lint-free cloth.
For lenses and on the go, I recommend the cleaning fluid from optics expert Zeiss. Especially because the cleaning fluid leaves virtually no streaks. Unfortunately, you can’t say that about all optics cleaners. In addition, you should always have a few microfiber cloths in your photo backpack and a powerful bellows (I use two sizes of Giottos).
A so-called Lenspen is also very useful. On longer trips, a cleaning kit for the image sensor also belongs in the camera backpack.
Important: First carefully remove the dust from the lens with 1. bellows and 2. brush. Then clean the lens glass with cleaning fluid and microfiber cloth.
The perfect travel tripod
A full-frame camera with heavy lenses demands a sturdy tripod. But for long trips and on hikes, the tripod must not be too heavy either.
The solution comes from Italy: the Gitzo Traveler GT1545T with the 82TQD tripod head (check price*) is also part of my photo equipment. With the tripod, we have already been on Mount Everest and on the 450-miles “Alpe Adria Trail”.
Unfortunately, the tripod is not cheap. You’ll have to pay around $600 if you want to go on a photo safari with the Gitzo. For that money, you can get a full-frame camera. For a long time, the Gitzo tripod was not available for less than $1000. From that point of view, it is currently a bargain.
Once you have used the Gitzo, you will never want to work with anything else. The tripod weighs around 3.3 lbs (1.5 kilos) with tripod head and stands like a rock in any weather.
The camera smartphone
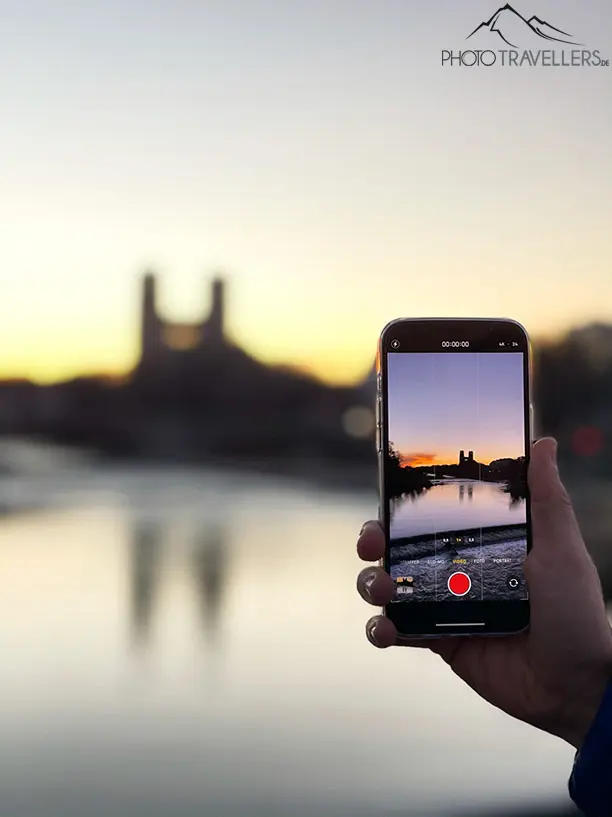
Of course, the smartphone is also playing an increasingly important role in photography. The cameras of the top devices are getting better and better, even in difficult lighting situations.
And as the saying goes, the best camera is the one you have with you. One of the best smartphone cameras is currently offered by the iPhone 13 Pro Max with three main cameras. Particularly impressive photos are taken with the ultra-wide-angle lens.
If you do not want to carry around heavy camera equipment, invest the money in a top smartphone like the iPhone 13 Pro Max.
Personally, we really like Apple products. If you prefer an Android phone, the Samsung Galaxy S20 Plus or the Huawei P40 Pro+ offer very good cameras.
Video equipment
For a long time, we were on the road with a GoPro. In the meantime, we film exclusively with our smartphone. The iPhone 13 Pro Max is currently our first choice in terms of video quality. In addition, the iPhone is super compact, light and easy to use – ideal when it has to go fast on a mountain tour.
By the way, you can find our Youtube- channel here.
Camera drone
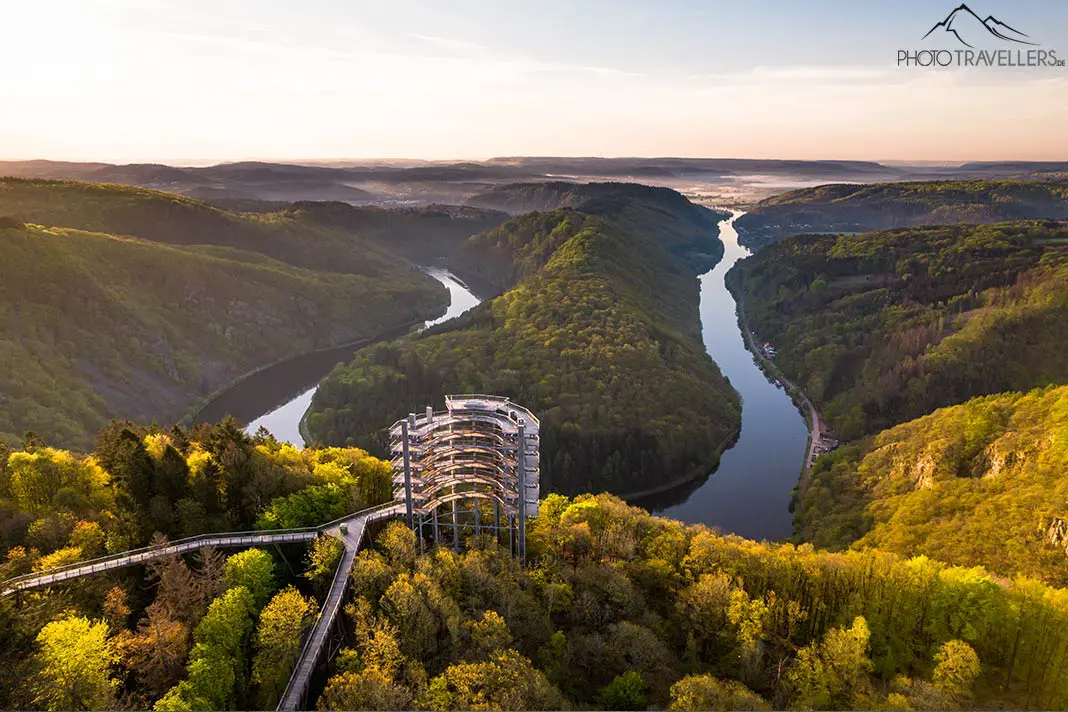
A drone always accompanies us on our travels. It has to be small and light, also because of the many hikes. In the meantime, we are on the road with the DJI Air 2S (check price*). For its size and weight, the DJI Air 2S takes unique shots. The drone has a 1-inch camera sensor with 20 megapixels and conjures up stunning panoramas fully automatically at the touch of a button. The drone films videos with a resolution of up to 5.4K.
During our flights, we of course pay attention to nature reserves, national parks, etc. – here we do not fly or only with permission.
Camera filters
Camera filters are an essential part of any photographic equipment:
- A polarizing filter takes away reflections from non-metallic surfaces
- With the neutral density filter (ND filter) you can expose photos longer, for example to make water appear like fog or to blur clouds
- With the graduated neutral density filter (GND filter) you darken the sky. This is useful when you shoot in the morning or in the evening against the low sun
- Today, the UV filter is really only used to protect the front lens. In my opinion, you can safely do without the UV filter (which always reduces the image quality). The protection is provided by the lens hood, which you should always use
Over the years, we have accumulated a number of filter brands, all of which deliver very good results. In my photo backpack you can currently find camera filters from Haida, Lee, NiSi and Rollei.
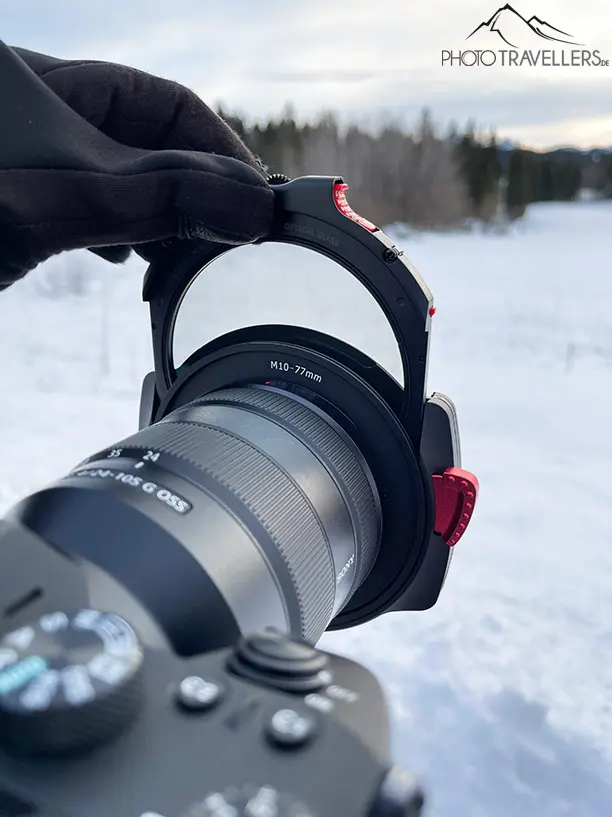
For the Sony Alpha I use rectangular plug-in filters in the size 100 mm and the M10 filter holder from Haida. The Haida filter holder is screwed onto the respective lens by means of an adapter ring. You then insert the rectangular filters into the filter holder (up to three in a row). For most photographers, the 100 millimeter system is the first choice.
If you are using an ultra-wide angle lens with a curved lens, you will have to use the larger and much more expensive filter system in the 150 millimeter size. With the 150 millimeter system, you can expect to pay $1000 and more for the appropriate filter holder and a couple of standard filters.
There are also plug-in filters in the 75 millimeter size for camera systems with a small MFT sensor.
Filter holder 100 millimeter system
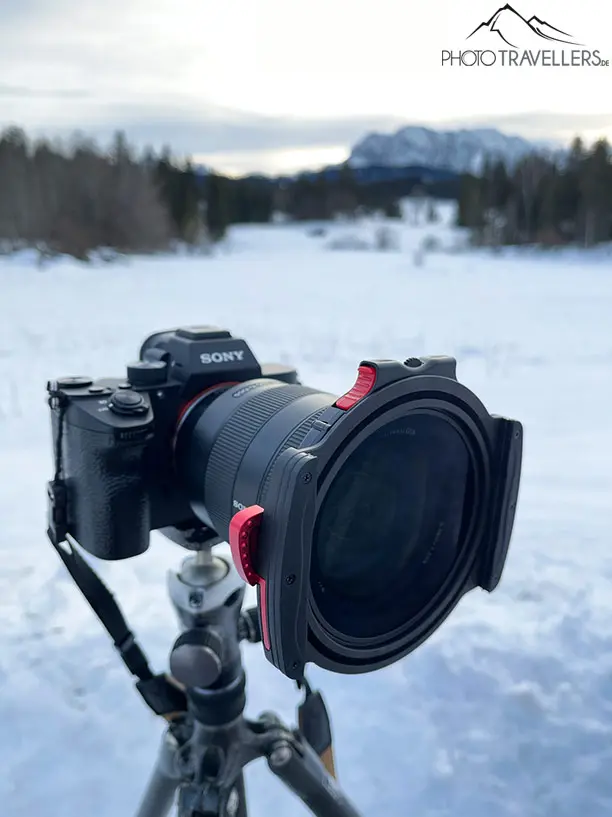
For the 100 millimeter system, I use the M10 filter holder from Haida with corresponding adapters (for screwing onto various lenses). The M10 inspires me with its good build quality and the well thought-out details. For example, a polarizing filter or a ND filter can be inserted via a drop-in filter if desired.
By default, you can use three filters in a row with the M10, including the drop-in filter. The filter holder comes with an additional slot for installation. So you can even use four filters in a row.
That is super comfortable. In addition, the filter holder is very light and built in such a way that you have no problem with incident light during long exposures. My absolute purchase tip!
Polarizing Filter (100 millimeter system)
Polarizing filters are available for screwing on and for plugging in. For the M10 filter holder from Haida I use a drop-in filter from Haida.
For other filter holders without drop-in slot, there are rectangular polarizing filters to plug in. The advantage of drop-in filters is that they can be used universally on all lenses (with the appropriate adapter for the filter holder). Unfortunately, the selection of polarizing filters for plug-in is very limited. If you decide to use this system, take a look at the Haida polarizing filter.
There are many screw filters on the market. Here you should always go for a well-known manufacturer. The filters cost more than no-name filters (usually around $100) and convince with top quality.
Always remember: If you buy cheap, you buy twice.
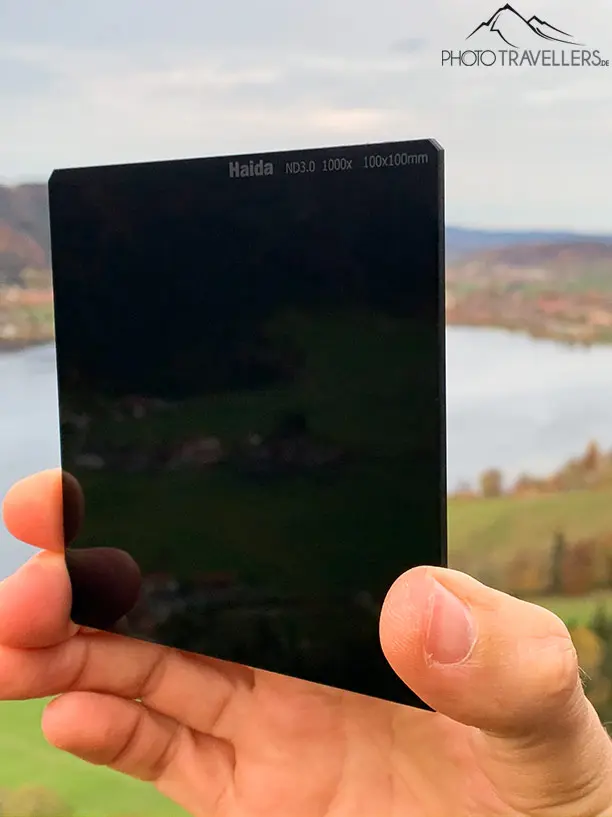
ND filters (100 millimeter system)
A good ND filter is unfortunately expensive – no matter from which manufacturer. Cheap filters can all be thrown in the garbage – that is the experience from years of working with camera filters.
ND filters should always be made of optical glass. This is the only way to avoid unsightly color casts that occur with cheap filters.
At least three different strengths belong to a well sorted photo equipment (especially for landscape photographers). I even have gray filters in the strengths 0.6 (2 f-stops), 1.2 (4 f-stops), 1.8 (six f-stops) and 3.0 (ten f-stops) in my camera backpack. Of course, you can vary this (it’s also a question of your wallet).
Graduated ND filters (100 millimeter system)
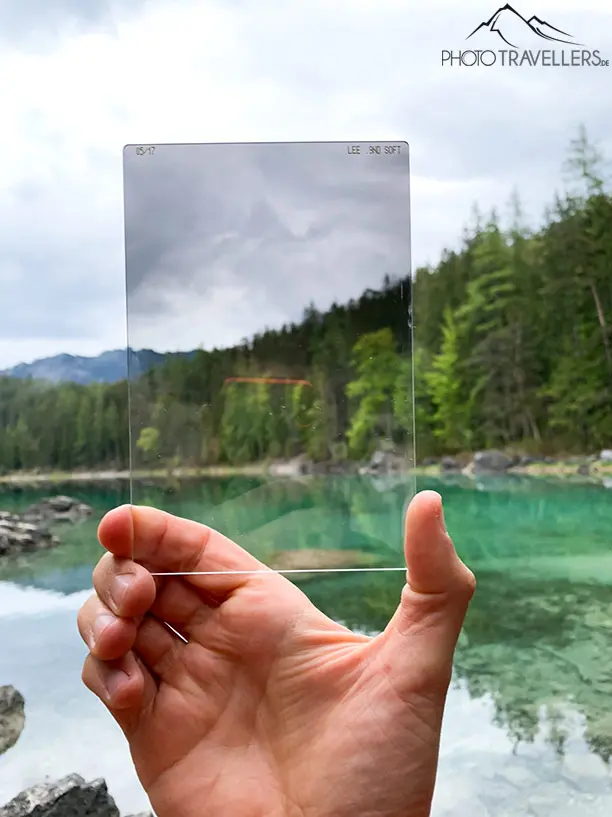
The best graduated neutral density filters (GND filters) are made of optical glass (a positive exception: Lee filters) and unfortunately tear quite a hole in the cash register.
Graduated filters are available with different transitions between light and dark. I favor graduated filters with soft or medium-hard gradients. I personally don’t like the effect of GND filters with a hard gradient.
Photo backpack
The Lowepro Flipside AW II (check price*) is ideal for me. I get the entire photo equipment with all filters and the filter holder in the practical backpack, which allows access to the camera equipment only through the back (thieves have no chance). The tripod fits on the outside. The Lowepro Flipside AW II is available in four sizes – depending on how comprehensive your photo equipment is.
Hiking backpack
For long and challenging tours I recommend the Gregory Baltoro (check price*). The Gregory Baltoro is not a photo backpack, but a classic hiking or trekking backpack.
However, I don’t know any backpack that adapts so well to your back and is still good to wear even after hours. In the backpack you can easily stow a part of the camera equipment even on long hikes.
The Gregory Baltoro is available in three sizes (65, 75 and 85 liters). For women there is the model Deva (60, 70 and 80 liters).
Tip: We use the smallest backpack in each case. What does not fit in there, must also not urgently with.
Protective wrap
Very practical for on the road is a protective wrap for your camera. I always use the wrap when I carry my camera in a hiking backpack and don’t use a special photo backpack. The wrap is padded, weighs hardly anything and protects the camera on the go.
The camera wrap is closed with a Velcro fastener – the ideal addition to any photo equipment.

*Werbelink / Bilder von der Amazon Product Advertising API
Camera mount Peak Design Capture Clip
For years, the Peak Design Capture Clip (check price*) has accompanied me on all my trips and hikes. Thanks to the camera mount, the camera is always immediately at hand.
The Peak Design Capture Clip is simply attached to the strap of the backpack. The camera is then hooked into it. It does not matter whether you are traveling with a small DSLM or full-frame DSLR.
Additional equipment for outdoor photographers
In addition to the camera, lenses and camera accessories, there are a few other things you should include in your camera backpack. You should always have a headlamp with you. Highly recommended is the Black Diamond Icon 700 (check price*) with AA batteries (or optional “Rechargeable Battery Pack”) and night vision mode (very usefull when shooting).
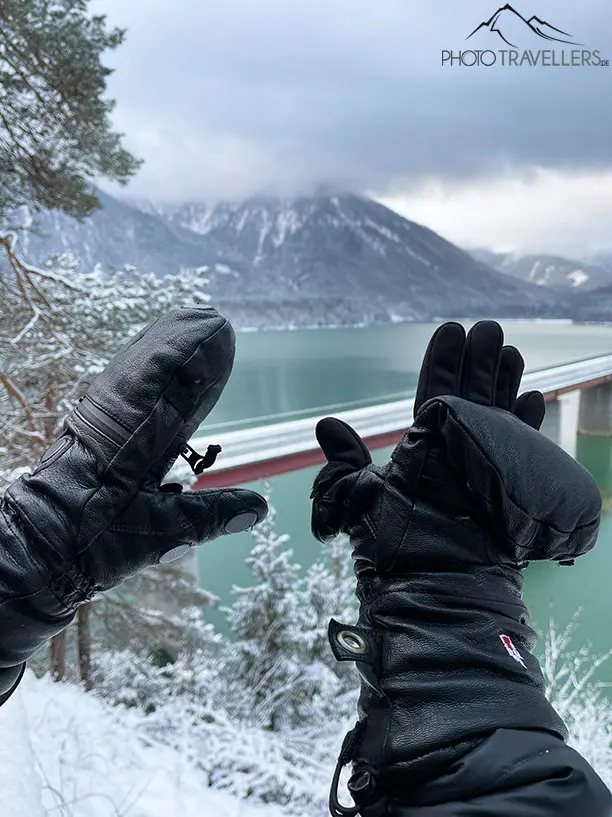
In winter, the cold is a real problem when taking photos. I have tried a lot of things to prevent cold (or half-frozen) fingers in winter. The only solution for me is heated photo gloves.
The warmest combination I have tested so far is the Charly Fire Basic (with Li-Ion battery heating for the fingers) as a layer (the gloves run very large, better order one size smaller) with the thick Shell Full Leather (with activated carbon pad) as a shell from The Heat Company. The combination works even in significant sub-zero temperatures. In addition, smartphone and camera can still be operated well without taking off the gloves.
If you’re going to be out in the cold for a long time, you should also check out the heated insoles (with activated carbon) from The Heat Company.
Unfortunately, as far as I know, these brands are only available in Europe.
Also highly recommended for winter against cold fingers while photographing is a pocket stove. For short trips I recommend a battery heated pocket warmer from Ocoopa. The advantage: You don’t have the smell of smoke or gasoline on your hands.
For long outdoor adventures, the pocket stoves from Relags (with coal, which unfortunately stinks) or the Peacock hand warmer (with gasoline) are a good choice.
Software
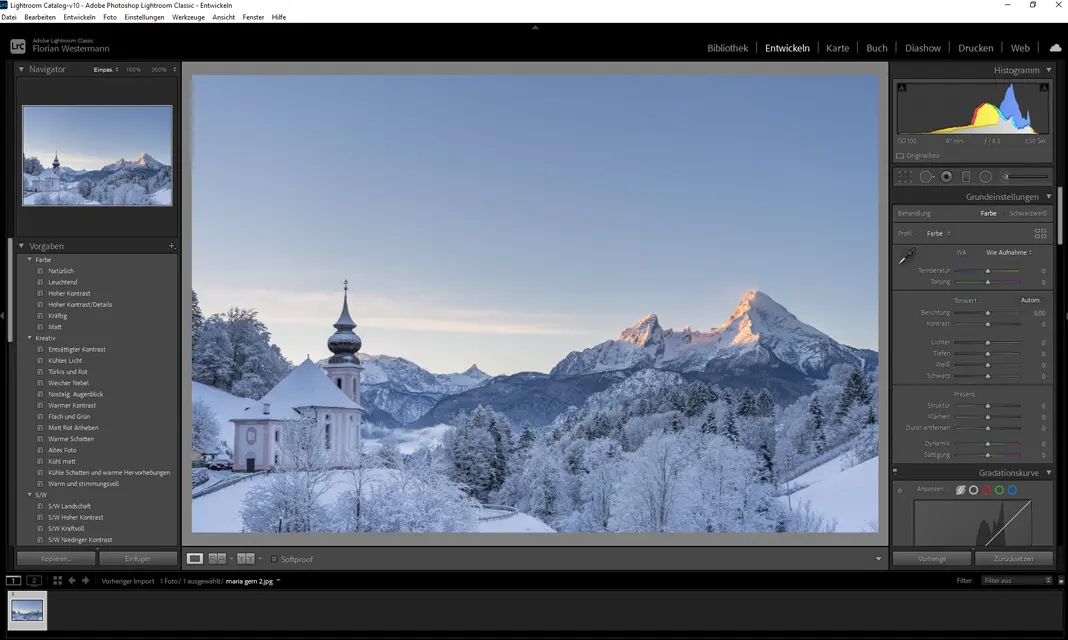
For the editing of RAW files and image processing I use the Adobe Lightroom and Adobe Photoshop. A paid alternative to Adobe Lightroom and Photoshop is the image editing software Luminar from Skylum. Free image editing programs include Gimp (download) and Darktable (download).
By the way, here you can find our presets for travel and landscape photographers.
Laptop & display
Most photographers seriously underestimate the importance of a good display when editing digital photos. You probably know that photos look completely different on different displays. To get a realistic view of your images, you should calibrate your display regularly. Apple, by the way, advertises that their displays usually don’t need to be calibrated.
Even when printing or editing your images in the photo lab, you may get a nasty surprise if you work with a display where the colors are not set correctly. In addition, a display always displays more colors than a printer can output. Then it also depends on the paper used for development.
In graphics programs such as Adobe Photoshop or Adobe Lightroom, you can use the softproof function to simulate how your print result will look. For this, you need the so-called ICC profile (usually from the photo lab). Unfortunately, I can’t elaborate on this topic here, because it would go beyond the scope of an article about my photo equipment.
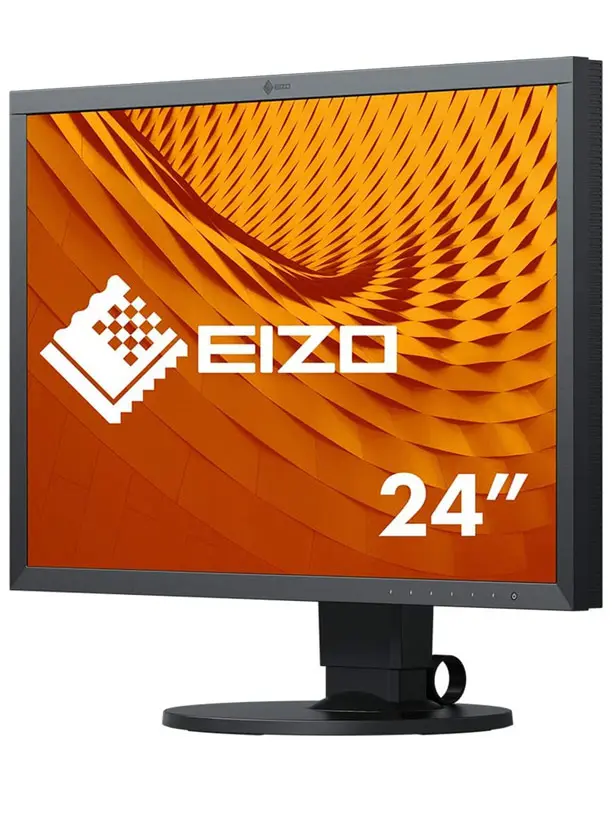
I work in the office with a Windows PC specially optimized for graphics applications and the Eizo ColorEdge CS2420 (check price*). The graphics screen displays colors and gradients accurately. This gives me an unaltered view of my photos. For regular calibration, I use a colorimeter from Eizo.
I also use a second display – this makes my work much easier. But you can use any other model for this purpose. Of course, the image development should be done on the graphic display.
When traveling, we use a Micosoft Surface Book and an Apple MacBook Pro (with M1 processor). Especially important for image and video editing is a large RAM (at least 16GB RAM) and fast SSD hard drives.
Data backup
With the Sony Alpha 7 IV, I use both card slots for double backup of my photos and videos already while shooting. Personally, I would never use a camera with only one card slot – especially on long trips.
In addition, I regularly back up the data on trips via laptop on an external SSD hard drive. For this purpose, I use an ADATA SD700 (check price*) with 1 TB of storage. The SSD hard drive is waterproof and dustproof and also protected against shocks. Perfect for the next outdoor adventure.
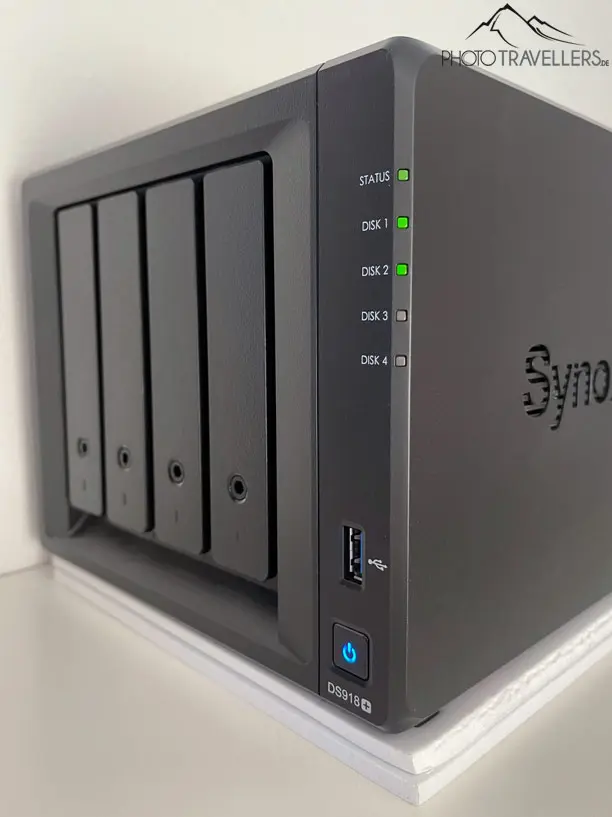
At home, we back up all photos and videos in the office on a Synology DS918+ with 8GB RAM (check price*) and with dedicated NAS hard drives (mirrored via RAID). We also use Synology Cloud C2 Storage for additional backup of all data in the cloud ($70 per TB/year).
So that was the look into my photo backpack. Our focus when traveling is of course landscape photography. This means that our equipment is not necessarily the ideal camera equipment for you.
It just always depends on what you want to do with the photos. For Instagram, Facebook and small printouts, even the smartphone is often enough, especially since there are devices with several focal lengths for different situations.
Hier findest du den Artikel zu unserer Fotoausrüstung auf deutsch.
You might also be interested in
Great information and presented professionally. Question, I am traveling in mid or late May to Berchtesgaden, Garmisch and Schwangau for about 10 days. In your opinion, would I be better off taking my 70-200 or 200-500 NIKKOR lens? The weight of one is not too bad however, both lenses are a little too much for me. My 18-35G, 24-70 should be all right for my general use.
I purchased the camera backpack you recommended, and it is great, thank you.
Kind Regards,
Jim
Hi Jim,
personally I would go for the 200-500. You’ll find lots of great subjects in the distance here.
Many greetings
Florian